Why Toronto’s Winters Are So Hard on Your Home – and What to Do About It

I know, it’s still July. Who wants to even think about winter right now? The thing is, taking steps today, when it is nice out and things can cure, could save you a lot of headache later.

Toronto doesn’t get the coldest winters in Canada – but it gets some of the most damaging ones for homes. The reason is the freeze-thaw cycle: temperatures that cross the 0°C threshold repeatedly over a single winter, sometimes multiple times in a single week. Water expands when it freezes, contracts when it thaws, and every cycle works on every crack, gap, and joint in your home’s exterior.

Here’s what it actually does, and what you can do about it.

Ice Dams

Ice dams form when heat escaping through the roof melts snow, which flows down to the cold eaves and refreezes. As ice builds up at the eave, subsequent meltwater has nowhere to go and backs up under the shingles. The result is water entering the attic and eventually appearing as ceiling stains or damaged insulation.

The solution is attic insulation and ventilation – keeping the roof surface uniformly cold so snow doesn’t melt selectively. Eavestrough cleaning in late fall removes the debris that contributes to ice buildup at the edge. If you’ve had ice dam damage, a roofing and insulation assessment is the right next step.

Foundation Cracking and Parging Failure

Water that enters cracks in foundation parging or concrete block freezes in those cracks over winter. The expansion forces the crack wider. Each cycle makes it slightly larger. Over several seasons, a hairline crack becomes a significant gap, and water begins entering the basement.

Fall is the right time to inspect and repair foundation cracks and parging – before the first hard freeze. Repairs made in spring are fine too, but they’ve already allowed one winter of cycling.

Pipe Freezing

Pipes that run through uninsulated exterior walls, crawlspaces, or unheated garages are vulnerable to freezing when temperatures drop sharply. The risk is highest in Toronto during the occasional deep cold snaps – when temperatures drop to -15°C or below and stay there for several days.

The preventive measures: insulate pipes that run through cold spaces, ensure the heating system maintains at least 12°C throughout the home even in vacant rooms, and know where your main water shutoff is.

Caulking and Sealant Failure

Caulking and sealants around windows, doors, and exterior penetrations expand and contract with temperature. Over several years and many freeze-thaw cycles, the sealant loses elasticity and begins to crack and pull away from the surfaces it’s meant to seal. An air and water infiltration point is created.

This is one of the most cost-effective maintenance items on the exterior of a home – caulking is inexpensive, but what gets in when it fails is not.

Wood Rot Acceleration

Wood that is cyclically wet and frozen deteriorates faster than wood that is simply wet. The freeze-thaw cycle breaks down wood fibres more aggressively than moisture alone. Areas to watch: exterior door frames at the base, window sills, deck boards and posts, and wood trim at ground level.

Flat Roof Membrane Stress

Modified bitumen and other flat roof membranes are formulated to handle freeze-thaw cycling – but they’re not infinitely resistant to it. The most vulnerable points are seams, flashings at parapets and penetrations, and areas where the membrane has already begun to blister or separate. An annual flat roof inspection in spring and fall catches developing issues before they become leaks.

The One Thing That Helps Everything

The single most effective thing a Toronto homeowner can do is walk the exterior of their home in November – before the first hard freeze – and address anything that shouldn’t go into winter. Caulking that’s cracked, parging that’s loose, downspouts that aren’t draining properly, eavestroughs that are blocked. None of these is expensive to fix in November. All of them are more expensive after a winter.

Ready to Talk?

If you have questions about your home – or you’re ready to get started – call us at 647-427-7366 or request a quote at thehandyforce.com. We serve East York, North York, and the surrounding Toronto neighbourhoods.

Deck Building in Toronto: What to Expect From Permit to First Summer

A new deck is one of the most rewarding home improvement projects there is – but in Toronto, the path from decision to finished deck is longer than most homeowners expect, and the surprises tend to happen at the permit stage. Here’s a realistic picture of the full process.

Step 1: Design and Quote

Before a permit can be applied for, you need a design – dimensions, materials, railing type, stair configuration, and height above grade. This is where you figure out what you actually want and what it costs.

The height above grade matters for the permit: decks with any surface more than 24 inches above grade require a building permit in Toronto. Decks below this threshold may not, depending on configuration – ask at the quote stage.

Step 2: Survey

A building permit application for a deck requires a survey of your property showing the location of the house, the property lines, and the proposed deck location. If you have a recent survey from when you bought the home, it can often be used. If not, a new survey is required – this takes 2 to 4 weeks and costs $800 to $1,500.

This is the step that catches most homeowners off guard. Budget for it from the beginning.

Step 3: Tree Study (If Required)

If any significant trees are near the proposed deck location, the City of Toronto may require a tree impact study from a certified arborist. Toronto’s tree protection bylaw is serious – a tree over a certain diameter on your property (or on the city’s right-of-way) that would be affected by construction triggers this requirement.

An arborist report takes 2 to 3 weeks and costs $500 to $1,000. We coordinate this as part of the project when required.

Step 4: Permit Application

With survey and arborist report in hand, the permit application is submitted. Residential deck permits in Toronto typically take 4 to 8 weeks to process. The application fee is based on the project value.

We manage the permit application as part of the project. You don’t need to deal with the City directly.

Step 5: Construction

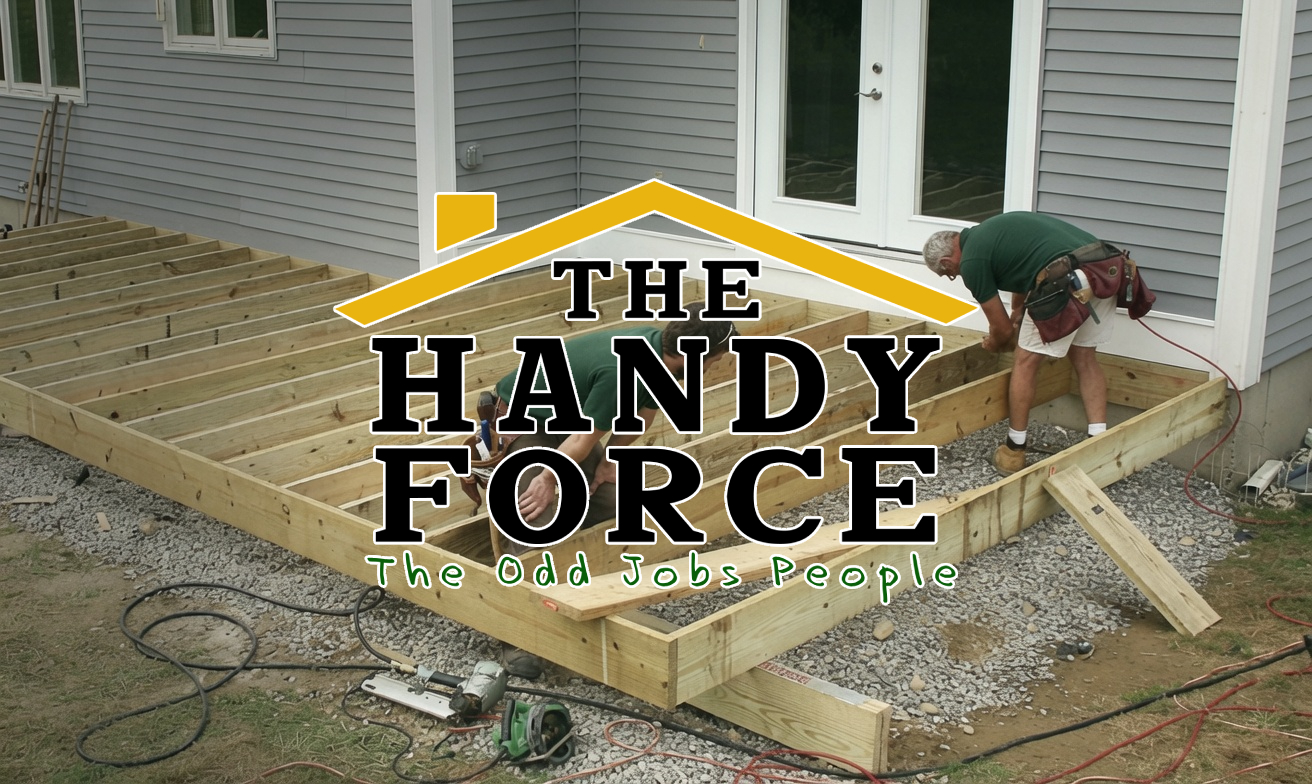
Once the permit is in hand, construction can begin. A typical pressure treated deck takes 3 to 7 days to build, depending on size and complexity. A composite deck with more complex railing takes longer.

Concrete footings are poured first and allowed to cure – this takes at least 3 days before framing can begin. We schedule accordingly.

Step 6: Inspection

The building permit requires a framing inspection (before decking is installed) and a final inspection. We coordinate both. The inspector visits, checks the work, and signs off. You receive the occupancy approval.

Step 7: Finishing

For pressure treated decks, staining and sealing should wait until the lumber has dried out – typically 6 months to a year after installation. Pressure treated lumber comes from the yard saturated with preservative and moisture; paint and stain won’t penetrate properly until it dries. We advise on timing.

The Realistic Timeline

From the decision to start to the first summer on a finished deck:

  • Survey (if needed): 2–4 weeks
  • Arborist report (if needed): 2–3 weeks
  • Permit application and approval: 4–8 weeks
  • Construction: 1–2 weeks
  • Total: 2 to 4 months minimum

If you want a deck for summer, start planning in late winter. The homeowners who start calling in May for a deck they want by June are the ones who end up waiting until August.

Ready to Talk?

If you have questions about your home – or you’re ready to get started – call us at 647-427-7366 or request a quote at thehandyforce.com. We serve East York, North York, and the surrounding Toronto neighbourhoods.

– The HandyForce Team

Solid Core vs. Hollow Core Interior Doors: Why It Matters More Than You Think

Interior doors are one of the most deferred upgrades in a Toronto home – and one of the most impactful when they’re finally done. Most homes have hollow core doors, installed during construction because they’re inexpensive and light. Most homeowners who replace them with solid core doors immediately notice the difference and wish they’d done it years earlier.

Here’s why.

What’s Actually Inside

Hollow Core

A hollow core door is a wood veneer or moulded skin over a frame of wood rails and stiles, with a cardboard honeycomb or similar material filling the interior. It weighs roughly 15 to 25 pounds. It sounds hollow when you knock on it because it is.

Solid Core

A solid core door is a wood veneer or moulded skin over a core of engineered wood composite – essentially a dense, compressed wood product. It weighs 50 to 80 pounds. It sounds and feels like a substantial door when you open and close it. Solid wood doors (not solid core – actual lumber throughout) are heavier still and are typically used for exterior doors.

Sound Transmission

This is the primary reason people upgrade to solid core doors, and the difference is significant. A hollow core door has an STC (Sound Transmission Class) rating of around 25 to 28 – meaning it blocks very little sound. A solid core door has an STC rating of around 33 to 38. For a home office, a bedroom, a music room, or any space where sound privacy matters, this is a meaningful real-world difference.

It’s not a complete soundproofing solution – sound also travels through walls, floors, and the gap under the door – but it’s the most accessible single upgrade for bedroom and office privacy.

Feel and Longevity

Solid core doors simply feel better – the weight gives a satisfying resistance when opening and a solid close rather than a light snap. They’re also more resistant to warping over time, which matters in Toronto where humidity cycles between very dry winters and humid summers. Hollow core doors warp fairly readily; solid core doors hold their shape much better.

Hardware

Heavier doors need hinges and latches rated for the weight. When upgrading to solid core doors, it’s worth investing in proper hardware – three hinges per door rather than two, quality mortise latches, and lever or knob hardware that suits the door weight. This is included in our door installations.

When the Upgrade Is Most Worth It

  • Primary bedroom – privacy and sound separation from the rest of the house
  • Home office – reduces sound intrusion during calls and focused work
  • Basement stair door – significantly reduces sound transmission between floors
  • Laundry room – contains appliance noise
  • Bathroom – privacy and dignity

Living room and kitchen doors (where they exist) benefit less from solid core, since these rooms are generally open to the rest of the house and the door is rarely closed.

The Cost

Solid core doors cost roughly two to three times what hollow core doors cost and the installation cost is similar. For most homeowners, the upgrade is worth it in bedrooms and the home office, and is optional elsewhere.

Ready to Talk?

If you have questions about your home – or you’re ready to get started – call us at 647-427-7366 or request a quote at thehandyforce.com. We serve East York, North York, and the surrounding Toronto neighbourhoods.

– The HandyForce Team

Toronto’s Heritage Homes: Renovation Rules and How to Navigate Them

Toronto has more designated heritage properties than any other municipality in Canada – over 8,000 individual properties and 20 Heritage Conservation Districts. If you live in Cabbagetown, parts of Rosedale, the Annex, Riverdale, or several other established neighbourhoods, there’s a reasonable chance your home or street has some form of heritage designation that affects what you can do to it.

The rules are more navigable than most homeowners expect – but you need to understand them before you start planning.

Individual Designation vs. Heritage Conservation District

Individually Designated Properties               

A property can be individually designated under the Ontario Heritage Act. This gives the City significant authority over alterations to the property’s heritage attributes – typically the exterior of the building. Interior renovations are generally not subject to heritage controls unless specific interior features were cited in the designation bylaw.

Heritage Conservation Districts (HCDs)

An HCD designation applies to an entire area and is intended to preserve the character of the neighbourhood as a whole. Within an HCD, alterations to the exterior of properties require a Heritage Permit, and the guidelines set out what is and isn’t appropriate. The rules vary by district – Cabbagetown’s HCD has different guidelines than the Annex.

What Typically Requires Heritage Approval

  • Changes to the front facade, including windows, doors, and cladding materials
  • Additions visible from the street
  • Demolition of any part of a designated structure
  • Changes to significant architectural features cited in the designation

What Is Usually Permitted Without Heritage Approval

  • Interior renovations (with some exceptions for individually designated properties with significant interiors)
  • Rear additions that are not visible from the street (subject to guidelines)
  • Like-for-like replacement of windows and doors with matching profiles
  • Repairs and maintenance using the same materials

The Practical Reality

Heritage staff at the City of Toronto are generally helpful – their goal is to support appropriate renovation of heritage properties, not to prevent all change. The process requires pre-application consultation, submission of drawings, and a Heritage Permit before work begins. Timeline varies, but typical Heritage Permit applications take 4 to 10 weeks.

The biggest mistake homeowners make is starting work before getting the Heritage Permit. Stop-work orders and mandatory restoration to original condition are real consequences.

Heritage-Appropriate Materials

In practice, ‘heritage-appropriate’ for most Toronto HCD renovations means:

  • Windows: wood or aluminum-clad wood profiles that match the original sightlines and muntin patterns; standard vinyl replacement windows are typically not approved
  • Doors: wood doors in period-appropriate styles; modern steel doors are typically not approved for primary entrances on designated properties
  • Cladding: materials consistent with the original – brick, wood siding – rather than vinyl or fibre cement

Composite slate roofing (like the project we did in Cabbagetown) is often acceptable as an alternative to original slate – it matches the appearance while being more practical. This kind of material substitution usually requires explicit approval.

Working With a Contractor on Heritage Properties

Choose a contractor who has experience with heritage renovation and who understands the approval process. Mistakes on heritage properties – wrong materials, unpermitted work – are more expensive to fix than on non-heritage properties. We’ve worked extensively on heritage homes in Cabbagetown, Rosedale, and the Annex, and we navigate the permit process as part of the project.

Ready to Talk?

If you have questions about your home – or you’re ready to get started – call us at 647-427-7366 or request a quote at thehandyforce.com. We serve East York, North York, and the surrounding Toronto neighbourhoods.

– The HandyForce Team