How to Choose a Contractor in Toronto: The Questions That Actually Matter

Toronto has no shortage of contractors. Finding one is easy. Finding a good one – one who shows up, does the work properly, communicates throughout, and doesn’t disappear the moment a problem emerges – is harder. Here are the questions that actually separate the good ones from the rest.

Are You Licensed and Insured – and Can You Prove It?

This is table stakes, and it’s remarkable how often it goes unverified. Ask for proof of general liability insurance and WSIB (Workplace Safety and Insurance Board) coverage. A contractor who can’t produce both documents within 24 hours of being asked is a contractor you don’t want working on your home. If something goes wrong on a job done by an uninsured contractor, the liability can fall on you as the homeowner. You also verify that the contractor has WSIB coverage directly on WSIB’s website.

For electrical work specifically, ask for the electrician’s ESA licence number. You can verify it on the ESA website.

Who Is Actually Doing the Work?       

Many contractors are essentially brokers – they quote the job and then subcontract it to whoever is available at the time. There’s nothing inherently wrong with this model, but you should know who is coming to your home, what their qualifications are, and who is responsible when something isn’t right.

Ask: Will your own employees be doing this work, or subcontractors? If subcontractors, who are they, and do you work with them regularly? A contractor who uses a consistent, known group of trades is very different from one who finds workers on an as-needed basis.

How Does Your Quote Process Work?

A serious contractor quotes in writing, in detail. The quote should specify what work is included, what materials will be used (including brand and grade where relevant), what is explicitly excluded, and the payment schedule.

Be very wary of:

  • Verbal quotes only
  • Quotes that arrive immediately without a proper site visit
  • Quotes that ask for more than 10–15% upfront before work begins
  • Quotes with very large holdbacks due only at completion, with no milestones in between

What Does Your Warranty Cover?

Ask specifically what the workmanship warranty covers and for how long. A one-year workmanship warranty is industry standard for renovation work. Anything less should raise questions. Ask what the process is if something goes wrong – who do you call, how quickly do they respond, and who bears the cost of correction?

Can You Give Me References – From Similar Work?

References are easy to cherry-pick, but they’re still worth asking for. Request references specifically from projects similar to yours in scope and type. And actually call them. Ask about communication, whether the project came in close to the original quote, whether the site was kept clean, and whether they’d hire the contractor again.

What Permits Are Required for This Job?

A contractor who doesn’t raise the permit question on permit-required work is a contractor who is either going to skip the permit or expects you to manage it. Unpermitted work creates real problems when you sell your home and can create insurance complications. Ask about permits specifically, and ask who pulls them and who coordinates the inspection.

The Red Flags

  • No written contract or quote
  • Pressure to start immediately or lose the spot
  • Large upfront payment demands (more than 15%)
  • No physical address or established business history
  • Unwillingness to provide insurance documentation
  • ‘We can do it without a permit and save you money’

Trust your instincts. If a contractor is difficult to communicate with during the sales process, they will be more difficult during the project. The best contractors are usually not the easiest to book – they have work. Plan ahead, get multiple quotes, and choose based on confidence rather than price alone.

Ready to Talk?

If you have questions about your home – or you’re ready to get started – call us at 647-427-7366 or request a quote at thehandyforce.com. We serve East York, North York, and the surrounding Toronto neighbourhoods.

– The HandyForce Team

The Real Cost of Deferred Home Maintenance in Toronto

Every homeowner defers maintenance sometimes. The eavestrough that’s been pulling away from the fascia for two seasons. The caulking around the bathroom window that’s been cracked since last winter. The basement window well that fills with water every heavy rain. These things get noticed, get added to a mental list, and then get deferred – because they don’t seem urgent enough, because the quote feels like a lot right now, because life is busy.

We see the results of deferred maintenance constantly. Here’s what the math actually looks like.

Eavestrough Pulling Away From Fascia

Year 1: Re-secure the eavestrough. New screws, resealed joints. Cost: $200–$400.

Year 3 (ignored): The fascia board behind the eavestrough has been wet for two seasons. It’s soft and needs replacing. Cost: $600–$1,200 depending on the run.

Year 5 (still ignored): The soffit behind the fascia has also been affected. The eavestrough is now pulling away dramatically and water is running down the exterior wall toward the foundation. Cost: $2,000–$4,000 for fascia, soffit, eavestrough, and foundation drainage assessment.

A Roof Leak Around a Vent

Year 1: Caulking around a roof vent collar has failed. A small amount of water is getting in during heavy rain. Cost: $150–$300 to reseal.

Year 2 (ignored): The plywood decking around the vent has been repeatedly wet and is beginning to soften. Cost: $800–$1,500 to replace the decking section and reshingle.

Year 4 (still ignored): The rafter below the decking is affected. There is visible water staining on the ceiling below. Cost: $3,000–$6,000+ depending on extent.

A Cracked Foundation Parging

Year 1: A crack in the parging on the exterior foundation wall. Water is beginning to work into the crack during freeze-thaw cycles. Cost: $300–$600 to repair the parging.

Year 3: The crack has widened and water is now penetrating to the block beneath. Efflorescence is visible on the interior foundation wall. Cost: $1,500–$3,000 for parging repair plus interior waterproofing assessment.

Year 6: Active water entry in the basement. Cost: $8,000–$20,000+ for interior waterproofing system, depending on the scope.

The Pattern

In almost every case, the early-stage cost is a maintenance number – hundreds of dollars. The mid-stage cost is a repair number – low thousands. The late-stage cost is a renovation number – high thousands to tens of thousands.

The reason is compounding damage. Water that gets in somewhere doesn’t stay in one place – it finds paths, saturates materials, creates mould conditions, compromises structural elements. Every season of delay expands the damage zone.

The Homecare Plan Argument

This is exactly why we built the Homecare Plan. Seasonal assessments by someone who knows what early-stage problems look like catch the $300 fix before it becomes the $15,000 fix. The math is not complicated.

We’re not saying this to sell the plan. We’re saying it because we watch homeowners spend enormous amounts of money on problems that were obviously developing for years, and it’s genuinely frustrating to know what the early intervention would have cost.

Ready to Talk?

If you have questions about your home – or you’re ready to get started – call us at 647-427-7366 or request a quote at thehandyforce.com. We serve East York, North York, and the surrounding Toronto neighbourhoods.

– The HandyForce Team

Painted Brick in Toronto: Everything You Need to Know Before You Do It

Painted brick is having a moment in Toronto – and for good reason. The transformation from tired yellow or red brick to a clean white or dark painted exterior is dramatic, and it can be done without touching the structure of the home at all. But painted brick is also permanent in a way that most exterior finishes aren’t, and doing it wrong creates problems that are genuinely difficult to undo.

Here’s what we tell every client who asks about it.

Can You Paint Brick?

Yes. Brick is a porous masonry surface that accepts paint well – provided the right preparation is done and the right products are used. The myth that painted brick always peels is almost entirely a preparation failure story, not a material failure story.

The Preparation Is Everything

Before any paint goes on, the brick has to be:

  • Power washed thoroughly – brick that has decades of grime, biological growth, and efflorescence on it will not bond paint properly
  • Inspected for spalling, damaged mortar joints, and cracks – these need to be repaired before painting, not after
  • Allowed to dry completely – wet brick will cause paint to fail; after power washing, wait at minimum 24 to 48 hours in dry weather
  • Primed with a masonry primer – standard primers don’t bond to brick the way masonry-specific primers do

The primer step is where most DIY painted brick jobs fail. A proper masonry primer penetrates the porous surface of the brick and creates a bond layer for the topcoat. Without it, the paint sits on the surface and eventually peels.

The Right Paint

You need breathable masonry paint – specifically formulated to allow moisture vapour to pass through the paint film rather than trapping it behind the surface. Brick is naturally breathable; if you seal it with a non-breathable paint, the moisture that normally passes through the wall gets trapped and the paint delaminates from the inside.

We use Sherwin Williams exterior masonry lines for brick painting. The cost difference per litre over a budget product is small; the performance difference over five Toronto winters is not.

Is Painted Brick Permanent?

Effectively, yes. Paint penetrates the porous surface of brick and is extremely difficult to remove completely without damaging the brick itself. Chemical strippers and sandblasting can be used, but both carry risks – chemical damage to the mortar, surface erosion – and the result is rarely the clean unpainted brick you started with.

This is why preparation and product selection matter so much. You’re making a long-term decision.

How Long Does It Last?

Properly painted brick with the right products and preparation typically looks good for 15 to 20 years in Toronto’s climate. The main variable is exposure – a south-facing wall in full sun will fade faster than a north-facing wall. Budget for repainting every 10 to 15 years on sun-exposed faces.

Colour Considerations

The most popular choices in Toronto right now are white (or off-white) with black or dark trim, charcoal grey, and dark green. All of these work well on brick. A few things to consider:

  • Dark colours absorb significantly more heat – this matters for south and west-facing walls
  • White shows dirt more quickly and may need cleaning between repaint cycles
  • Whatever colour you choose, test it on a small section and look at it in different light conditions before committing to the full house

What About Heritage Designations?

If your home is in a Heritage Conservation District – parts of Cabbagetown, Rosedale, and some areas of the Beaches have these designations – painting the exterior brick may require approval from the City of Toronto’s Heritage Preservation Services. Check with the City before starting the project.

Ready to Talk?

If you have questions about your home – or you’re ready to get started – call us at 647-427-7366 or request a quote at thehandyforce.com. We serve East York, North York, and the surrounding Toronto neighbourhoods.

– The HandyForce Team

Knob-and-Tube Wiring in Toronto: What It Is, Why It Matters, and What to Do About It

If you own a Toronto home built before 1950, there’s a reasonable chance it still has knob-and-tube wiring somewhere inside the walls. It might be the original system, or it might be original wiring that was partially updated over the decades – which is often more problematic than either leaving it alone or replacing it completely.

Here’s what you actually need to know.

What Is Knob-and-Tube Wiring?

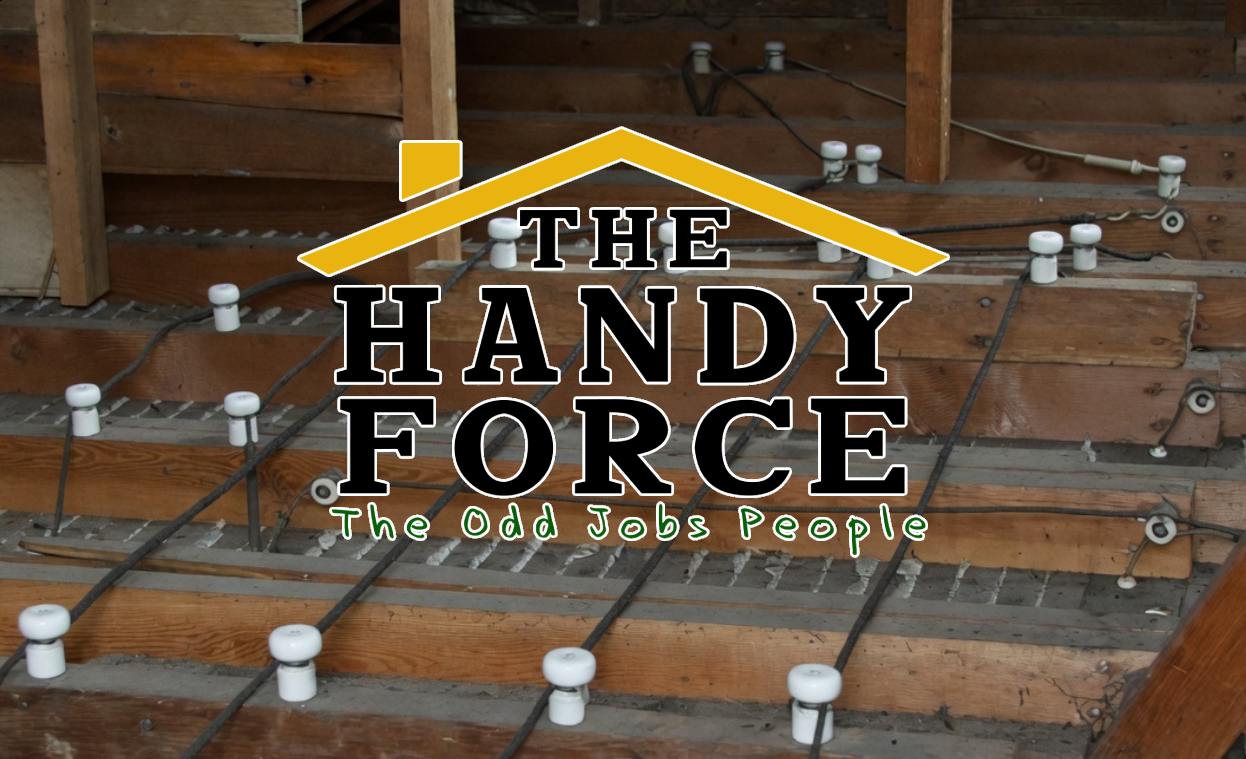
Knob-and-tube (K&T) was the standard residential wiring system in Canada from roughly the 1880s through the 1940s. The name describes the two components: ceramic knobs that hold the wire away from framing, and ceramic tubes that protect wire where it passes through wood. The wire itself is typically copper, insulated with rubber cloth that has a finite lifespan.

The system has no ground wire – only a hot and a neutral – which is the fundamental limitation. It also relies on open-air cooling to operate safely, which means insulation blown over it (common in energy retrofits) can cause it to overheat.

Is Knob-and-Tube Dangerous?

Original knob-and-tube that hasn’t been modified, is properly separated from insulation, and hasn’t been overloaded is not inherently dangerous. The danger comes from:

  • Insulation in contact with K&T wiring – dramatically increases fire risk
  • Improper splices and modifications over the decades
  • Overloading – the original circuits were designed for far less electrical demand than modern homes require
  • Deteriorated rubber insulation – the cloth-wrapped rubber on original K&T has a service life of 70 to 100 years, and many systems in Toronto are past it

The Insurance Problem

This is the issue most Toronto homeowners with K&T run into first. Many home insurers either refuse to write or renew policies on homes with active knob-and-tube wiring, or charge significantly higher premiums. If you’re buying a home and the inspection reveals K&T, your insurer will want to know – and many will require remediation as a condition of coverage.

The reason insurers care is straightforward: K&T has a higher statistical association with electrical fires than modern wiring systems.

What Does ‘Active’ Knob-and-Tube Mean?

Active K&T means the wiring is still carrying current – it’s still connected to your panel and powering circuits. Inactive K&T (disconnected from the panel, abandoned in place) is generally not an insurance concern, though it should be properly capped and labelled.

Many Toronto homes have a mix: some circuits were updated in the 1960s or 70s, others weren’t. The partial update situation is often the trickiest, because the work wasn’t always done correctly.

What Are the Options?

Full Replacement

Complete replacement of all knob-and-tube with new copper wiring is the definitive solution. It requires an ESA permit, an ESA inspection, and results in a certificate of inspection that satisfies virtually all insurers. It also involves opening walls and ceilings in areas where the old wiring runs – the scope depends on the home.

More information about the Electrical Safety Authority can be found here.

Partial Remediation

In some cases – particularly where a panel upgrade is also happening – it’s possible to address the most problematic circuits and bring the system to a level that satisfies the insurer. This isn’t always accepted; many insurers want full replacement documentation.

Do Nothing

If the wiring is truly original, unmodified, properly separated from insulation, and your insurer accepts it, doing nothing is technically an option. In practice, the combination of insurer pressure and the age of the insulation on most Toronto K&T systems means remediation is the right move for most homeowners.

What Does Replacement Cost?

The cost of K&T replacement depends heavily on the size of the home, how much of the wiring is original, and the accessibility of the runs. It’s not a cheap project – but it’s dramatically less expensive than a house fire, and it adds real value to the property and insurability.

We assess every K&T situation individually and give you an honest picture of what’s there and what remediation actually requires.

Ready to Talk?

If you have questions about your home – or you’re ready to get started – call us at 647-427-7366 or request a quote here. We serve East York, North York, and the surrounding Toronto neighbourhoods. Let our ESA licensed electricians make your home safe.

– The HandyForce Team